A batch of crystal-clear resin can turn cloudy, tacky or full of surprises the moment the wrong colourant goes in. If you are wondering how to colour resin safely, the good news is that it is not complicated – but it does depend on using the right additives, the right amount, and the right protective setup from the start.
For most resin makers, colouring is where the fun begins. It is also where projects can go off track. Too much pigment can affect curing, water-based dyes can cause problems, and loose powders need a bit more care than people expect. A safer process is not only better for you to work with – it usually gives you cleaner, more reliable results too.
How to colour resin safely from the start
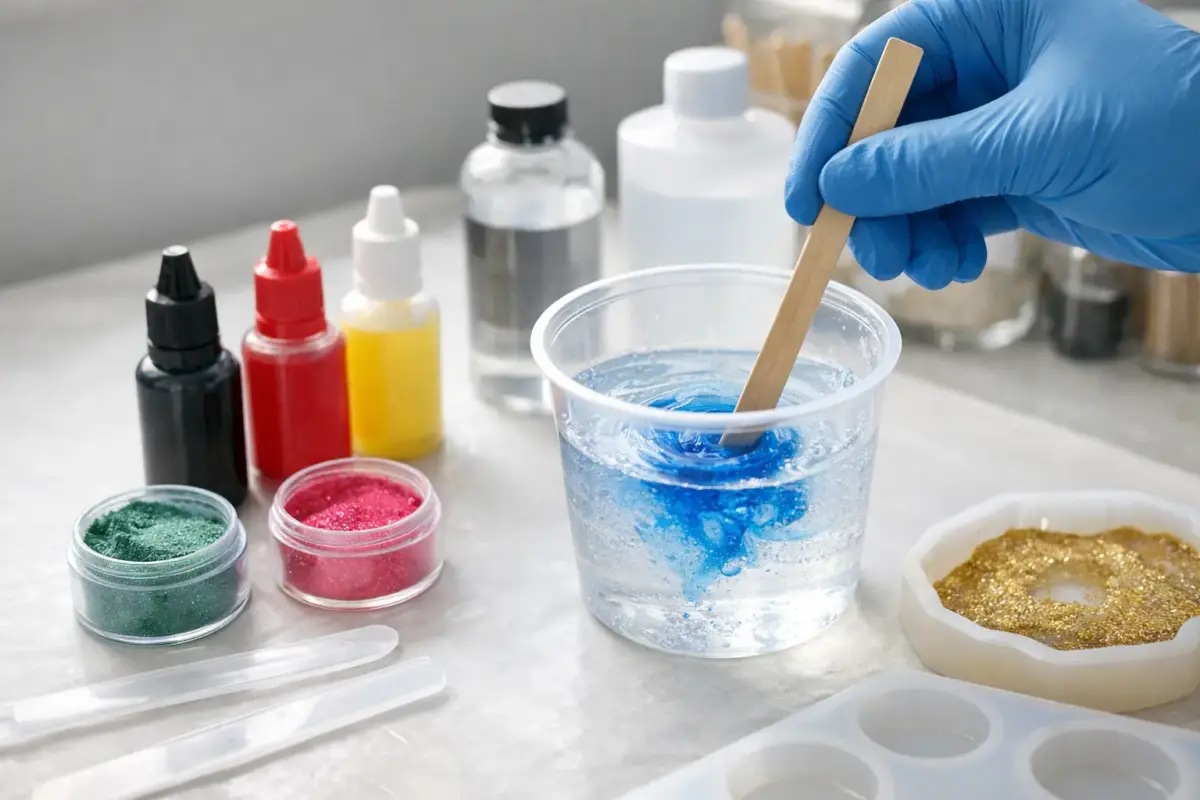
The first safety step happens before you even open a pigment pot. Work in a well-ventilated space, protect your surface, and wear the right gloves. Resin and colourants can both create mess, and some fine powders are best handled gently so they do not become airborne. If you are using epoxy resin, keep your mixing cups, stirrers and colourants organised before you combine anything. Once resin is mixed, you do not want to be hunting around with sticky gloves on.
Eye protection is sensible if you are pouring larger batches or mixing briskly. If you are working with mica powders, alcohol inks or highly concentrated liquid dyes, a careful hand matters just as much as protective equipment. Small amounts go a long way, and adding colour slowly is safer and easier than trying to correct an over-pigmented mix.
Temperature matters as well. Cold resin is thicker and harder to mix evenly, which can leave streaks of unmixed pigment or encourage over-stirring. If your workspace is too warm, resin may cure faster than expected, leaving less time to work cleanly. A steady, comfortable room temperature gives you more control.
Choose colourants made for resin
The safest way to colour resin is to use products specifically designed for resin systems. That sounds obvious, but plenty of beginners reach for acrylic paint, food colouring or general craft dyes because they are already in the cupboard. The problem is compatibility. Resin has a very specific chemical balance, and not every colour product will sit happily inside it.
Pigment pastes, resin dyes, mica powders and resin pigments are usually the safest choices because they are made to blend into resin without introducing too much moisture or unwanted texture. That means a lower risk of curing issues, separation or dull patches.
Acrylic paint is a common temptation, especially for opaque colours. It can work in some small decorative applications, but it is not the most reliable option and can interfere with curing if too much is added. Water-based products are even more problematic. Resin and water are not good partners, so colourants with a high water content are best avoided.
If you are trying a new pigment for the first time, test a small batch before committing to a full pour. That applies whether you are making jewellery, coasters, trays or castings for stock. A quick test tells you how the colour behaves, whether it disperses smoothly, and if the finished cure stays hard and glossy.
The main types of resin colourants
Liquid resin dyes are ideal when you want transparent or translucent colour. They blend quickly and are easy to build up drop by drop, which makes them beginner-friendly.
Pigment pastes are better for strong, opaque shades. They are highly concentrated, so you need less of them, which helps preserve the resin’s curing balance.
Mica powders add shimmer, depth and pearlescent effects. They are popular for artwork, jewellery and moulded pieces, but they should be added carefully to avoid dust escaping into the air.
Alcohol inks are often used for petri effects and fluid designs. They can create beautiful movement, but they behave differently from standard dyes, so they are best used with a bit of practice and testing.
Use less than you think you need
One of the easiest ways to stay safe and get better results is not to overload the resin. More colour does not usually mean better colour. It often means slower curing, softer pieces or a finish that looks muddy instead of crisp.
As a general rule, add colour gradually and stop as soon as you reach the shade you want. Many resin colourants are highly concentrated, so a tiny amount is often enough. If you want a deeper tone, build it up in stages rather than adding a large blob all at once.
This matters even more for beginners because it is easy to underestimate how much visual impact a pigment will have once fully mixed. In clear cups, some mixes look weaker than they appear in the final cured piece. Patience saves resin.
For makers producing items to sell, consistency matters just as much as safety. Measuring or repeating your colour ratios helps you recreate bestsellers and avoid waste. If you find a mix you love, make a note of what you used while it is fresh in your mind.
Mix thoroughly, but do not whip air into it
Safe colouring is partly about technique. After measuring and mixing your resin correctly, add your chosen pigment and stir it in fully. Scrape the sides and bottom of the cup so there are no pockets of unmixed colour or resin. Incomplete mixing can leave streaks, soft spots or uneven cure.
That said, there is no need to stir aggressively. Fast mixing adds bubbles, and bubbles can be harder to remove once the resin thickens. A steady fold-and-stir motion works well for most projects.
If you are splitting one batch into several colours, mix the clear resin first, then decant it into separate cups before adding pigments. That keeps your base resin properly combined and gives you better control over each shade.
How to handle mica powders more safely
Mica is beautiful to use, but it is the colourant most likely to create unnecessary mess if handled carelessly. Open jars slowly, keep them away from fans or draughts, and use a scoop rather than tipping straight from the pot. If powder lands on your worktop, wipe it up with a damp disposable cloth rather than brushing it into the air.
A little goes a long way here too. Too much mica can make resin overly dense in appearance and, in some formulas, may affect the final cure if heavily overused.
Match the colourant to the project
Not every resin project needs the same kind of pigment. Jewellery often looks best with transparent dyes, delicate mica effects or fine glitter designed for resin. Coasters and trays can handle stronger opaque pigments and layered effects. Deep castings need extra care because some additives can settle, shift or appear different through thickness.
UV resin also has its own limits. Because it cures with light, very dark or highly opaque colourants can block that light and leave the piece under-cured. If you are using UV resin, thinner layers and lighter tints are usually the safer route.
This is where a lot of makers get frustrated. The colour itself may be perfectly good, but the combination of resin type, pour depth and pigment load is what decides the outcome. If something is not curing properly, it is not always the resin alone. The colour choice might be part of the issue.
Keep your workspace and tools clean
Colouring resin safely is also about controlling contamination. Use separate stirrers or clean tools between colours if you want crisp results. Keep lids on pigments when not in use, especially powders and liquid dyes that can spill easily. Once resin gets into a pigment pot, that product may be harder to use next time.
It also helps to keep paper towel, wipes and a bin nearby so you can deal with drips straight away. Sticky gloves spread colour everywhere if you carry on working too long without changing them. Small habits make the whole process cleaner and calmer.
If you make resin regularly, setting up a simple workflow is worth it. Group your resin, colourants, cups, moulds and safety gear so everything is within reach. That is one reason many makers prefer buying from a specialist supplier such as Resin Studio – it is easier to build a setup where all the essentials work together.
What to avoid when colouring resin
The biggest mistakes are usually very ordinary ones. Using water-based colourants, adding too much pigment, mixing too roughly, or trying to improvise with non-resin products can all lead to trouble. Glitter is another one to watch. Only use glitter that is suitable for resin, as some coatings can bleed or react in the mix.
It is also worth avoiding the habit of experimenting in a full-size project first. Test tiles, spare moulds and small sample pours are much cheaper than ruining a large tray or a batch of stock.
If a piece cures soft after adding colour, do not assume more time will fix it. Sometimes the pigment ratio or incompatibility has already disrupted the cure. That is frustrating, but it is useful information for the next batch.
Colour is one of the best parts of resin work because it lets you turn a simple pour into something that feels completely your own. The safest approach is also the most reliable one: choose resin-friendly pigments, add them sparingly, mix with care, and give yourself a tidy setup that makes good habits easy. When the process feels controlled, creativity comes much more naturally.