If you have ever unmoulded a piece and found cloudiness, bubbles or a sticky patch right where the finish should shine, you already know that clear casting resin can make or break a project. The good news is that clarity is not just luck. With the right resin, a careful mix and a few practical habits, you can get clean, polished results that look far more professional and feel far less stressful to make.
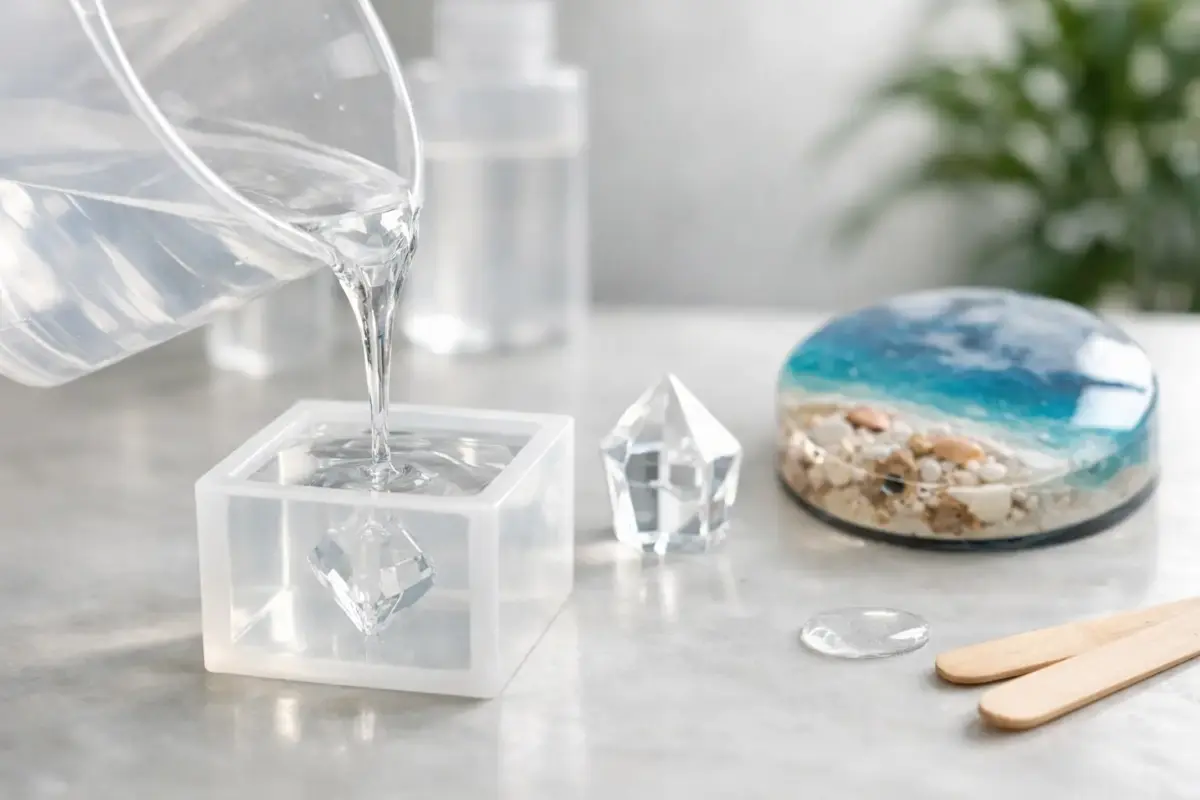
Clear casting resin is designed for pours where transparency matters. That might mean jewellery, paperweights, coaster moulds, decorative trays, preserved flowers, shaker charms or display pieces with embedded objects. Unlike coatings that are made to sit in a thin layer on top of a surface, casting resin is formulated to cure through thicker pours while staying as clear as possible. That difference matters because the wrong resin in the wrong project often leads to overheating, yellowing, trapped bubbles or a finish that never quite cures as it should.
What clear casting resin is actually for
The simplest way to think about clear casting resin is that it is made for depth. If your project involves pouring into a silicone mould or building up a piece with volume, casting resin is usually the better fit than a standard coating resin. It tends to have a lower viscosity, which helps bubbles rise out more easily, and it cures in a way that better suits thicker sections.
That does not mean every clear casting resin behaves exactly the same. Some are made for smaller craft moulds, while others are intended for larger pours. Some cure more slowly to reduce heat build-up. Others are geared towards decorative projects where speed is more important than depth. This is where many beginners get caught out. The label might sound similar across products, but the best choice depends on your mould size, pour depth and the finish you want.
If you mostly make smaller home craft projects, such as pendants, keyrings, coasters and trinket dishes, a clear casting resin designed for craft use will usually give you the best balance of clarity, workable pot life and reliable curing.
How to choose clear casting resin for your project
Start with the pour depth. This is one of the first things to check before you buy. A resin that performs beautifully at 10mm may not cope well at 40mm, and pouring beyond the recommended depth can create excess heat inside the mix. That heat can cause yellowing, cracks, distortion in silicone moulds and a cure that goes wrong in the middle.
Next, think about the size of the piece rather than just the depth. A large shallow tray can still generate more heat than a small deep pendant because there is more mixed resin reacting at once. If you are making bigger items, slower-curing systems often behave better.
Clarity is another obvious factor, but it is not just about how the resin looks in the bottle. Good clear casting resin should cure with minimal haze, resist yellowing as much as possible and allow embedded items to remain visible. If you plan to add dried flowers, glitter, foil or pigments, make sure the resin you choose still suits those additions. Some decorative inclusions are easy to suspend, while others tend to trap bubbles or drift.
Finally, be realistic about your own working style. If you are new to resin, a product with a straightforward mixing ratio and enough working time to pour carefully is often worth more than shaving a few hours off the cure time.
Getting a clear result starts before you pour
Most disappointing resin finishes start with setup, not curing. Cold resin, a chilly workspace, damp tools or rushed measuring all have a way of showing up later in the finished piece.
Room temperature makes a bigger difference than many people expect. Resin that is too cold becomes thicker, and thicker resin holds onto bubbles. A comfortably warm workspace helps the resin flow, mix and self-level more easily. It also helps the curing reaction stay consistent. You do not need tropical heat, but you do want a stable working environment.
Accurate measuring matters just as much. Clear casting resin needs the correct resin-to-hardener ratio to cure properly. Eyeballing it is rarely worth the risk. If the manufacturer specifies measuring by weight, use scales. If it specifies volume, use marked mixing cups. Mixing for too short a time is another common mistake. Unmixed material clinging to the sides or bottom of the cup can leave streaks, soft spots or cloudiness.
A clean workspace also protects clarity. Dust, pet hair and fibres have an uncanny ability to land in resin right as it starts to settle. Covering pieces while they cure can save a lot of frustration.
How to reduce bubbles in clear casting resin
Bubbles are the thing most makers worry about first, and for good reason. They are the quickest way to lose that glass-like finish.
Some bubbles come from mixing, some from porous inclusions, and some from the mould itself. You can reduce the first type by stirring steadily rather than whipping the resin. Slow, deliberate mixing is better than fast circular stirring. It may feel slower, but it usually saves time overall because you spend less time chasing bubbles later.
Warming the resin bottles slightly before mixing can help lower viscosity, though they should never be overheated. A warm water bath around sealed bottles is a common approach. Dry the bottles fully before opening them so no moisture gets into the resin.
If you are embedding dried flowers, wood, paper or other porous items, remember that those materials can release trapped air into the resin. Sealing them first can help. For silicone moulds, pouring in a thin stream also makes a difference because it helps break up bubbles on the way down.
A heat tool can pop surface bubbles, but use it carefully. Too much heat can damage moulds, cause rippling or accelerate the cure unevenly. With clear casting resin, gentle handling usually beats aggressive fixing.
Common problems and what usually causes them
Cloudiness often comes down to one of three things: moisture, poor mixing or using the wrong resin for the pour. If your resin has cured with a misty appearance, check whether your workspace was damp, whether inclusions carried moisture, or whether the product was really suited to that mould depth.
Soft or sticky patches usually point to measuring or mixing issues. This can happen even when most of the piece looks fine. Resin scraped from the side of an incompletely mixed cup can end up in the mould and stay tacky.
Yellowing is more complicated. All epoxy resin changes over time to some degree, especially with sunlight and heat exposure, but some products resist it far better than others. If long-term clarity matters, choose a resin made with UV resistance in mind and keep expectations realistic for items that will sit in direct sun.
Cracking, warping or excessive heat build-up usually means the pour was too deep or the mixed volume too large for that formula. In those cases, pouring in layers is often the safer option.
When layering makes more sense
Not every project should be done in one pour. If you want to suspend glitter, create depth with several decorative elements or work around the depth limits of your resin, layering gives you more control.
The trade-off is time. You need to let each layer reach the right stage before adding the next, and that slows the project down. Still, for many moulded pieces, layered pours reduce bubble problems and make placement of inclusions much easier. They can also help stop heavier items from sinking straight to the bottom.
This is especially useful for makers selling finished pieces. A layered process can feel less efficient at first, but more consistent results usually mean less waste and fewer failed moulds.
A better buying mindset for beginners and regular makers
The easiest mistake when shopping for resin is buying too broadly and hoping one bottle will do everything. In practice, resin works best when matched to the job. Clear casting resin is ideal for transparent moulded pieces, but that does not automatically make it the best choice for coating artwork, doming jewellery or very deep pours.
For beginners, it helps to keep the process simple. Choose a resin that suits your most common projects, pair it with compatible mixing tools, moulds and safety gear, and work from a setup you can repeat confidently. For regular makers, consistency matters even more. Reordering a resin you understand often gives better results than switching constantly between formulas.
That is one reason many crafters prefer buying from a specialist store such as Resin Studio. It is easier to build a reliable workflow when your resin, pigments, moulds, accessories and safety essentials are chosen to work well within the same creative setup.
Clear results come from a combination of the right product and repeatable habits. Once you stop treating clarity as a happy accident, clear casting resin becomes much easier to work with – and much more rewarding when the piece comes out exactly as you pictured it.