You’ve unmoulded a piece, touched the surface, and realised something’s off. If you’re asking why is resin sticky, the answer is usually simple: the resin has not cured properly, or the surface has been affected during curing. The good news is that sticky resin is a common problem, especially for beginners, and in many cases it can be fixed or avoided next time with a few practical changes.
Resin should cure to a hard, dry finish. Depending on the formula, that might mean fully glossy, slightly flexible, or ready for sanding after a set number of hours. It should not feel wet, gummy, or tacky days later. When it does, the cause nearly always comes back to mixing, measuring, temperature, or product choice.
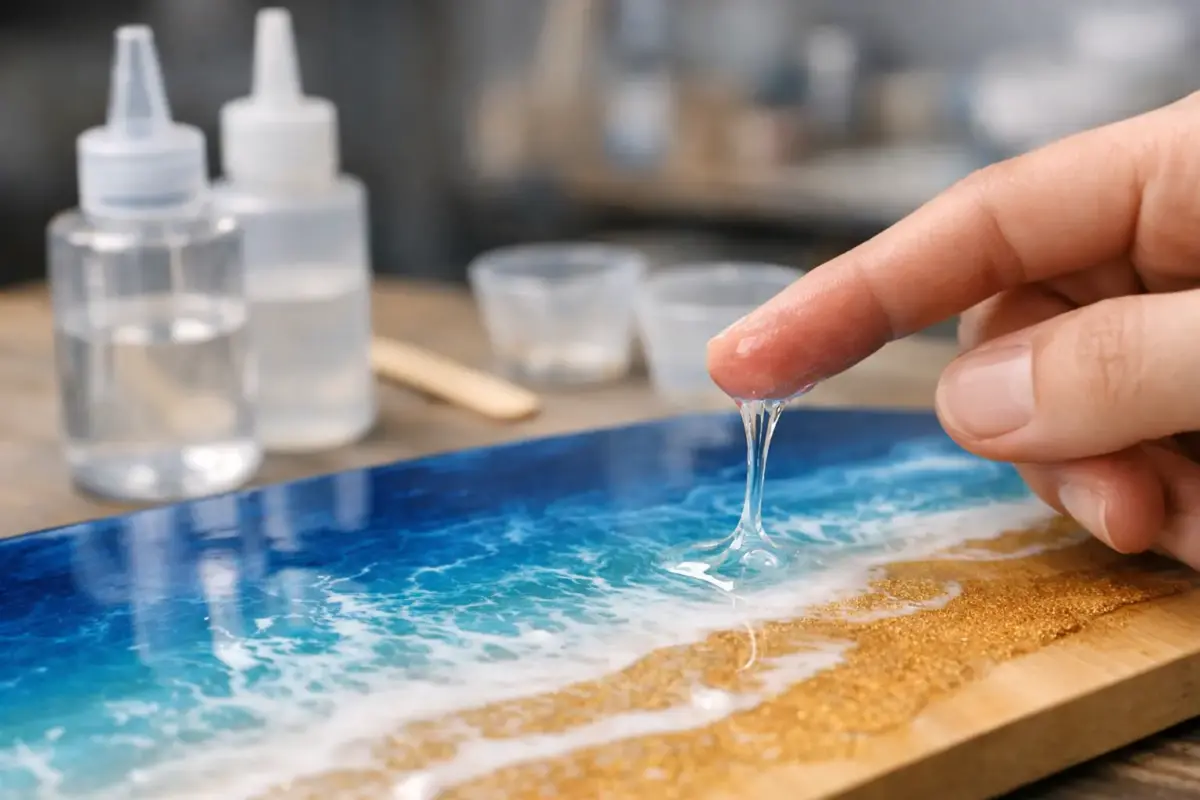
Why is resin sticky after curing?
There are a few different kinds of “sticky”, and they don’t all mean the same thing. Sometimes the whole piece is soft and bendy, which points to an incomplete cure. Sometimes just the top feels tacky while the rest is solid. And sometimes UV resin seems hard until you press a fingernail into it and realise it is still soft underneath.
That matters, because the fix depends on what has gone wrong.
With epoxy resin, the most common issue is an incorrect mix ratio or incomplete mixing. Epoxy relies on resin and hardener being combined in the exact proportion stated by the manufacturer. Too much of one part and the chemical reaction cannot complete properly. Even if the ratio is correct, poor mixing can leave streaks or patches of uncured material in the pour.
With UV resin, stickiness often comes from under-curing. The resin may not have had enough UV exposure, or the layer may have been too thick for the light to cure all the way through. Some UV resins can also retain a slight surface tack depending on the formula and the lamp used.
The most common reasons resin stays tacky
Incorrect measuring
This is the big one. If your epoxy resin is meant to be mixed 1:1 by volume, but you roughly estimate it, the cure can fail. The same applies if a resin needs measuring by weight and you switch to volume without checking. Those two things are not always interchangeable.
Small projects can actually make this trickier. When you only need a tiny amount, even a slight measuring error can throw the batch off. That is why it helps to use marked mixing cups or a digital scale and to follow the product instructions exactly rather than relying on guesswork.
Incomplete mixing
A resin mix can look combined before it actually is. If you scrape around the cup for ten seconds and stop, unmixed material may still be clinging to the sides and bottom. Once poured, those areas can stay sticky.
Mix slowly and thoroughly for the full recommended time. Scrape the sides, scrape the base, and keep going until the liquid looks completely uniform. Some makers like to transfer the mixed resin into a second clean cup and stir again. It adds a step, but it can make a real difference.
Cold temperatures
Resin is sensitive to room temperature. If your workspace is too cold, the cure slows down dramatically and may not complete as expected. A chilly worktop, cold bottles, or a cold mould can all work against you.
For many epoxy systems, a warm, stable room helps produce the best finish. If you’re working in a garage, shed, or spare room during a British winter, temperature is worth checking before you blame the resin itself. Even a correctly mixed batch can stay soft for much longer in poor conditions.
Too much pigment or additive
It is tempting to keep adding mica, liquid pigment, glitter, dried flowers, or other decorative extras until the mix looks perfect. But resin can only tolerate so much added material before the cure is affected.
If you overload the resin, especially with liquid colourants not designed for resin use, the balance changes. The result can be a soft or sticky finish. This is one of those areas where more is not better. A little pigment usually goes a long way.
Pouring too thick or too thin for the product
Different resins are designed for different jobs. Casting resin, coating resin, and UV resin all behave differently. If you use a product outside its intended depth range, curing problems can show up.
With UV resin, thick pours are a regular cause of stickiness underneath the surface. The top gets the light, but the lower layer does not cure fully. With epoxy, very thin leftover patches in a cup or around the edges of a mould can sometimes stay tacky even when the main body cures properly.
High humidity or contamination
Sometimes the issue is not the mix itself but what lands on it. Moisture, dust, oil, silicone residue, or even skin contact at the wrong stage can interfere with the surface. This is less common than measuring or mixing mistakes, but it does happen.
If only the top feels slightly tacky while the piece underneath is hard, surface contamination or cure inhibition may be the culprit.
How to tell if resin is fully uncured or just surface-sticky
Before you try to fix anything, check what kind of problem you’re dealing with. Press the surface lightly with a gloved finger. If it leaves a deep mark, feels soft all the way through, or bends when it should be firm, the resin has probably not cured properly.
If the piece is solid but the top feels slightly sticky, you may be dealing with a surface issue. That is easier to rescue. A fully soft piece is much harder to save, especially if the ratio was wrong from the start.
Give the resin the full cure time listed on the product instructions before making that call. “Touch dry” and “fully cured” are not the same thing. Some pieces need a day or two before they reach their final hardness.
Can sticky resin be fixed?
Sometimes, yes. Sometimes, no.
If the resin is only a little tacky on the surface but hard underneath, you may be able to sand the surface lightly and apply a fresh, correctly mixed top coat. For UV resin, an extra cure under the proper lamp may help if the issue is simply underexposure. If there is an inhibition layer, cleaning and recoating can work well.
If the entire piece is soft, wet, or rubbery after the full cure time, there is usually no reliable shortcut. You can try moving it to a warmer area for a little longer, because cold conditions can slow a cure. But if the ratio or mixing was wrong, extra waiting will not usually solve it.
For moulded items, uncured resin often needs to be discarded and the mould cleaned thoroughly before reuse. It is frustrating, but it is also part of learning the material. One failed pour teaches you far more than ten perfect ones.
How to stop sticky resin happening again
The easiest way to prevent tacky resin is to make your process boringly consistent. Measure accurately, mix for long enough, and work in the right conditions every time. Most curing issues come from rushing one of those steps.
Choose the right resin for the project as well. If you’re making deep castings, use a casting resin suitable for that depth. If you’re adding a glossy coating, use a coating resin. If you’re making small jewellery pieces with UV resin, cure in thin layers rather than one thick pour.
It also helps to keep your tools straightforward. Clean mixing cups, proper stirrers, gloves, and a flat working area remove a lot of avoidable mistakes. For beginners, starter kits can take some of the uncertainty out of choosing compatible supplies, especially when you are still learning what each resin type is meant to do.
Why is resin sticky even when you followed the instructions?
If you are sure you measured correctly and mixed thoroughly, look at the environment and the extras you added. A cold room, too much pigment, an old UV lamp, or a layer that was poured too thick can still cause trouble. Resin is forgiving in some ways, but not in every way.
It is also worth checking the age and storage condition of your materials. Resin that has been stored badly or used long past its best can become less predictable. Keeping bottles sealed, clean, and at a stable temperature gives you a better starting point every time.
A better result usually comes from smaller changes
When resin goes sticky, it is tempting to overhaul everything at once. In practice, small corrections tend to work better. Improve your measuring, warm the room, reduce the pigment, or switch to a resin better suited to your project. One or two adjustments are often enough to turn a frustrating pour into a clean cure.
That is one reason many makers build confidence quickly once they have the right setup. Resin does have a learning curve, but it is not random. With the right materials and a repeatable method, you can get polished, hard-finished pieces far more consistently.
If your latest project is tacky, don’t take it as a sign that resin isn’t for you. Treat it as a clue. The surface is telling you exactly where your process needs a little more attention, and the next pour will usually be better for it.