
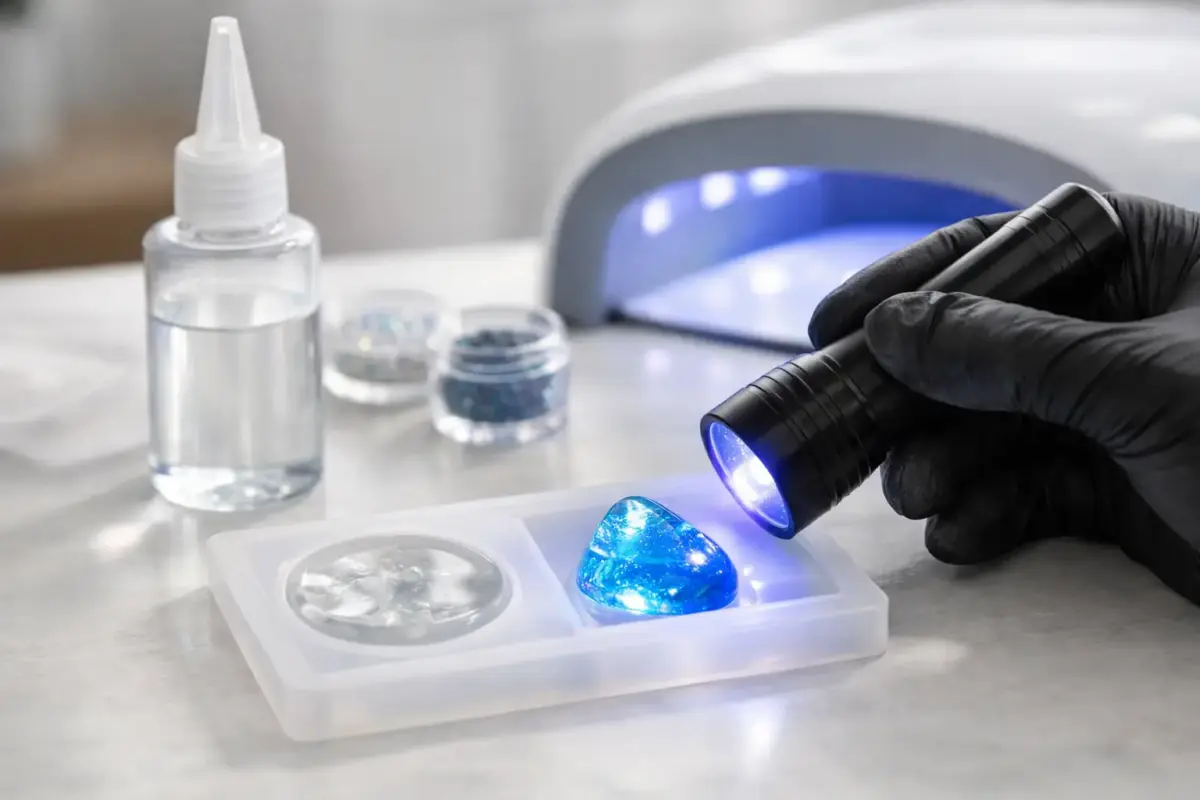
If your UV resin still feels tacky after a blast under the lamp, the problem usually is not the resin itself. It is more often the layer thickness, the light source, or the way the piece was built. If you are wondering how to cure UV resin properly, a few small adjustments can make the difference between a cloudy, bendy finish and a clear, hard result you are happy to sell or gift.
UV resin is popular because it skips the measuring and mixing that comes with epoxy. It is fast, convenient and brilliant for jewellery, charms, shaker pieces, coating work and small moulds. But speed can make it feel deceptively simple. The curing stage is where many beginners get caught out, and even experienced makers can run into trouble when switching moulds, pigments or lamps.
How to cure UV resin without guesswork
The simplest way to cure UV resin is in thin layers under a suitable UV lamp, turning the piece if needed so every area gets direct exposure. That sounds straightforward, but curing depends on a few variables working together.
Your lamp matters first. Not every light marketed for nails or crafts gives the same output, and natural sunlight can be inconsistent in the UK. A proper UV lamp designed for curing resin gives you far more control. If the light is weak, too far away, or blocked by the mould or decoration, the resin may skin over on top while staying soft underneath.
Layer thickness matters just as much. UV resin cures best when applied in shallow pours. If you try to fill a deep bezel or chunky mould in one go, the top may harden before the light reaches the centre properly. This leaves sticky spots, trapped softness or an uneven finish. Building up your piece in stages takes a little longer, but it gives a much more reliable cure.
Pigments and inclusions also change the result. Clear UV resin cures fastest because light passes through it easily. Once you add mica, dense colour, glitter, foil, dried flowers or opaque dyes, the resin becomes harder for the lamp to penetrate. That does not mean you cannot use them – only that you may need thinner layers and longer curing time.
What you need before curing begins
Good curing starts before the lamp goes on. Your work surface should be clean, your moulds dry, and your resin applied with care. Dust, fingerprints and stray fibres are common causes of frustration because they get sealed in quickly.
It helps to work with a few basic tools nearby: a UV lamp, silicone mat, gloves, a fine applicator or nozzle bottle, and something like a cocktail stick for nudging resin into corners. If you are making jewellery or detailed moulded pieces, tweezers and a small torch can help with positioning and spot curing, though a full lamp is still the better option for a complete cure.
Temperature plays a part too. Resin generally behaves better in a warm room than a cold one. If your workspace is chilly, the resin can become thicker and trap bubbles more easily. You do not need tropical heat, just a comfortable crafting temperature where the resin flows evenly.
Step by step: how to cure UV resin cleanly
Start by applying a thin layer. For flat-backed charms, bezels, doming or coating, keep the resin shallow and level. For moulds, avoid the temptation to fill to the top immediately unless the mould is very small and the resin is completely clear.
Place the piece directly under the lamp and keep it as close as the lamp instructions allow. Cure for the recommended time, then check the surface. If it is set enough to handle, add your next layer. This staged approach is especially useful if you are embedding decorations, building depth, or working with coloured resin.
If you are using a mould, think about how the light reaches the resin. Some silicone moulds are more translucent than others, and some shapes naturally block exposure. In those cases, curing from the top alone may not be enough. Once the resin has set enough to remove safely, take it out and cure the reverse side as well.
Rotate or reposition your piece when needed. Domed surfaces, raised edges and awkward corners can miss direct light. A quick extra cure from another angle often solves patchy results. This is one reason UV resin rewards patience. A minute spent checking coverage can save you from sanding off a failed topcoat later.
Why UV resin stays tacky
Tackiness is one of the most common complaints, and there is rarely a single cause. Often the resin layer is too thick, the pigment is too dense, or the lamp has not fully reached every part of the piece.
Sometimes the top surface feels slightly sticky even when the rest of the piece is cured. This can happen because of oxygen inhibition, where the surface exposed to air cures less completely than the resin underneath. With some products, a final thin topcoat and another cure helps. In other cases, wiping the surface lightly after curing can remove residue, but only if the resin is otherwise fully set.
Cheap or ageing lamps can also be the problem. UV output drops over time, and not all lamps are equally suitable for resin crafting. If your projects suddenly start curing badly when your method has not changed, the lamp is worth checking.
Common mistakes that slow down curing
Trying to rush deep pours is the biggest one. UV resin is not the best choice for large castings or thick pours, no matter how tempting the quick cure sounds. For those projects, epoxy or casting resin is usually the better fit.
Another mistake is overloading the resin with colour. A tiny amount of pigment often goes a long way, especially in UV resin. If you want a very opaque effect, build it in slimmer layers rather than making one heavily pigmented pour.
Dirty moulds can interfere too. If a mould is cloudy with residue or scratched from heavy use, your finish may look dull and the light may not behave as expected. Keeping moulds clean and storing them carefully helps more than people realise.
Sunlight is another mixed bag. Yes, UV resin can cure in direct sun, but it is not always consistent. Cloud cover, window glass, season and angle all affect the result. It is fine as a backup, but if you want repeatable results for making batches or customer orders, a lamp is the more dependable route.
Can you cure UV resin in sunlight?
You can, but it depends on the project and the weather. A small clear charm on a bright summer day may cure surprisingly well outside. A pigmented moulded piece on a grey afternoon may not. In the UK especially, relying on sunlight can be frustrating because the conditions change so quickly.
If sunlight is your only option, keep the piece thin, clear and well exposed, and expect curing times to vary. Turn the item so all sides get light, and be ready for extra time. For regular crafting, a proper UV lamp gives you far more confidence and a much smoother workflow.
How to tell when UV resin is fully cured
A fully cured piece should feel hard, dry and stable. It should not leave residue on your glove, dent under light pressure, or flex more than the design naturally allows. Clear pieces should look glossy rather than wet, and moulded items should release cleanly once ready.
That said, not every project will feel identical. A very thin coating on a flexible base may still have some movement because of the base underneath. A chunky charm with lots of inclusions may need extra curing from several angles even if the outer surface seems ready.
If you are unsure, give it more time under the lamp rather than forcing demoulding or adding findings too soon. Extra curing is usually safer than handling a piece that is only partly set.
When UV resin is the right choice
UV resin is ideal when you want speed, control and convenience for smaller makes. It is especially handy for jewellery, keyrings, sealing artwork, attaching embellishments and adding glossy top layers. If you like working in stages and seeing results quickly, it is a great addition to your craft bench.
It is less suited to large, deep or heavily pigmented pours. In those cases, switching to an epoxy or casting resin often gives a better finish with less frustration. Choosing the right resin for the job is part of getting reliable results, not a sign that you are doing anything wrong.
For makers building confidence, the easiest route is simple: use a good lamp, keep layers thin, go easy on dense colour, and cure from more than one angle when needed. Once that routine clicks, UV resin becomes far less mysterious and much more enjoyable. Create something beautiful, one properly cured layer at a time.