If your UV resin stays tacky after a full cure cycle, the first question is usually how many watts for UV resin. It sounds like the obvious measure, but watts only tell part of the story. A stronger lamp can help, but curing speed and finish also depend on wavelength, distance, layer thickness, pigment load and the shape of your piece.
That matters because UV resin is meant to be the quick, convenient option. When it behaves, it is brilliant for jewellery, doming, small moulds, coating details and adding glossy finishes without mixing two parts. When it does not, you can waste resin, dull the surface, trap bubbles or end up with soft spots that never properly harden.
How many watts for UV resin actually works?
For most craft projects, a UV lamp in the 24W to 48W range is a sensible starting point. That is enough for many common UV resin jobs such as doming earrings, sealing dried flowers, filling shallow bezels and curing small mould pours in thin layers. Beginners often do well with 24W or 36W if they are working on small pieces and using clear or lightly tinted resin.
If you are curing larger pieces, darker pigments or multiple items at once, 48W or above can be more reliable. A higher wattage lamp usually gives you faster curing and better coverage, especially when the lamp is designed to spread light evenly rather than blast one narrow spot.
That said, more watts do not automatically mean better results. A poor-quality 80W lamp can still cure badly if the wavelength is wrong or the bulbs are positioned unevenly. In practice, a well-made 36W lamp can outperform a badly designed lamp that claims a much bigger number on the box.
Why wattage is only half the story
When makers ask how many watts for UV resin, what they really want to know is whether their resin will cure fully. Wattage refers to power consumption, not just curing ability. It tells you something, but not enough on its own.
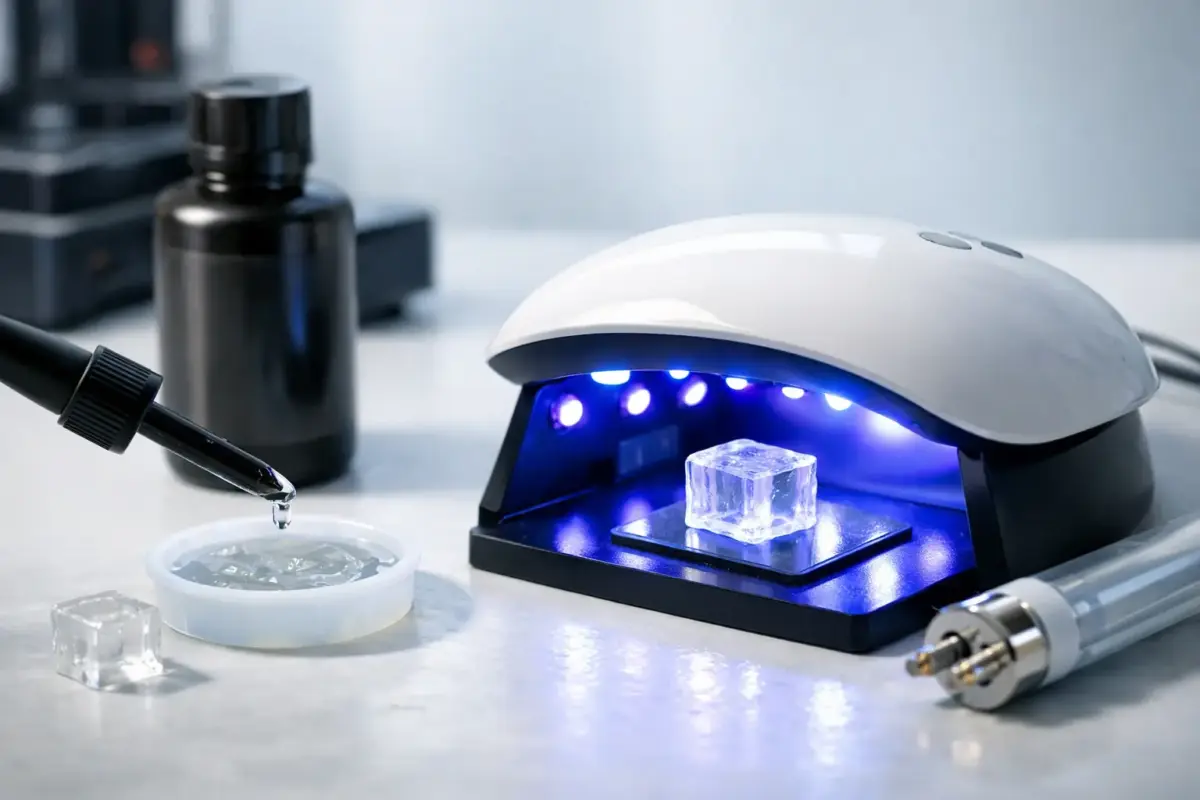
UV resin cures best under the correct wavelength, typically around 365nm to 405nm depending on the formula. Many craft UV resins are designed for 395nm to 405nm LED lamps, which is why nail-style UV/LED lamps are so commonly used for resin projects. If the lamp and resin are not well matched, increasing wattage will not fix the problem.
Light placement also matters. If your lamp has dead zones, the centre of the piece may cure while the edges stay soft. This is especially common with wider moulds, curved jewellery and pieces with raised details. A lamp with even internal bulb placement often gives a more dependable cure than a lamp that simply advertises a bigger wattage.
A practical guide to wattage by project type
For very small surface work such as doming charms, sealing glitter, attaching findings or adding a glossy top coat, 12W to 24W can work if you are patient and curing in thin applications. It is not the fastest option, but it can be enough for detail work.
For general crafting, 24W to 48W is the most useful range. This suits the majority of hobby makers because it balances speed, convenience and control. If you are making earrings, keyrings, pendants or shaker inserts, this range is usually where you want to be.
For deeper moulds or frequent production work, 48W to 72W can be worth it. This does not mean you should pour thick UV resin all in one go – UV resin still cures best in shallow layers – but a stronger lamp can help each layer cure more evenly and reduce waiting time between stages.
If you are selling handmade items or batch-making products, the benefit of higher wattage is often consistency rather than raw speed. It is easier to keep your workflow moving when your cure times are predictable.
When a stronger lamp helps – and when it does not
A stronger lamp helps when your pieces are slightly larger, your resin is tinted, your room is cool, or you are curing several items together. It can also help if you use silicone moulds that block some light from the sides, because you may need to rotate the piece and cure from different angles.
It does not help much if the resin layer is too thick. UV resin is not the same as epoxy resin. It is designed for relatively shallow curing, and trying to rush a deep pour usually creates problems. The top may set while the middle stays soft, or the surface may wrinkle as heat builds too quickly.
It also will not solve issues caused by heavy pigment use. Add too much mica, alcohol ink, glitter or opaque colourant and the light struggles to travel through the resin. In that case, the answer is usually thinner layers or a more translucent mix, not just a bigger lamp.
Signs your lamp is underpowered or unsuitable
The most obvious sign is persistent tackiness after the recommended cure time. Some UV resin has a slight surface inhibition layer that benefits from a final wipe or a longer cure, but it should not feel genuinely soft or wet.
Cloudiness, easy denting and bending in small charms can also point to incomplete curing. If one side hardens well and the other does not, your issue may be light coverage rather than wattage alone. Pieces that cure on top but stay sticky underneath often need turning over for a second cure or curing in thinner pours.
If your resin yellows very quickly or develops ripples, the lamp may be generating too much heat in one area or the piece may be overexposed while you try to compensate for poor coverage elsewhere.
Tips for curing UV resin properly
Even with the right lamp, technique makes a real difference. Keep the resin layer thin, especially in moulds or bezels. If the piece needs depth, build it gradually instead of trying to fill it in one pass.
Work as close to the lamp as the design allows without pressing the piece against the bulbs. If your lamp has a removable base, use it for awkward shapes so light can reach more angles. Rotating the piece partway through can help with raised surfaces and curved moulds.
Clear and lightly tinted resin cures most easily. If you want strong colour, test a small sample first. Dark shades and dense glitter mixes often need extra cure time and thinner applications.
Clean the inside of your lamp now and then. Resin dust, fingerprints and cured drips can reduce the light reaching your work more than you might think.
Do beginners need a high-watt lamp?
Not necessarily. If you are just getting started, it makes more sense to buy a reliable lamp in a practical mid-range than chase the highest number available. A good 24W to 48W lamp is enough for most beginner-friendly resin crafts and helps keep the process simple.
That suits the way many makers begin – with jewellery, small embellishments, bookmarks, hair clips and decorative top coats. You can get clean results without overcomplicating things, as long as your resin, lamp and project style are compatible.
If you move into larger moulds, more opaque designs or regular customer orders, then upgrading becomes easier to justify. The goal is not the most powerful setup possible. It is a setup that cures your actual projects reliably.
The best answer to how many watts for UV resin
For most UK crafters, 24W to 48W is the sweet spot. It is strong enough for the majority of UV resin jobs, easy to work with, and usually a better fit than very low-powered mini torches or overhyped lamps with impressive numbers but poor performance.
If you mainly make small, clear pieces, lean towards the lower end. If you use more pigment, work in batches or want faster curing, lean towards the higher end. And if your resin still is not curing properly, look beyond wattage at wavelength, coverage and layer thickness before replacing everything.
At Resin Studio, we always think the best tools are the ones that help you create with confidence rather than second-guess every step. Get the lamp right, keep your layers sensible, and UV resin becomes the quick, satisfying material it is meant to be.
A good cure should feel boring in the best possible way – smooth, even and repeatable – so you can spend more time making something beautiful.